
How to Print Barcode Labels From Excel at Scale
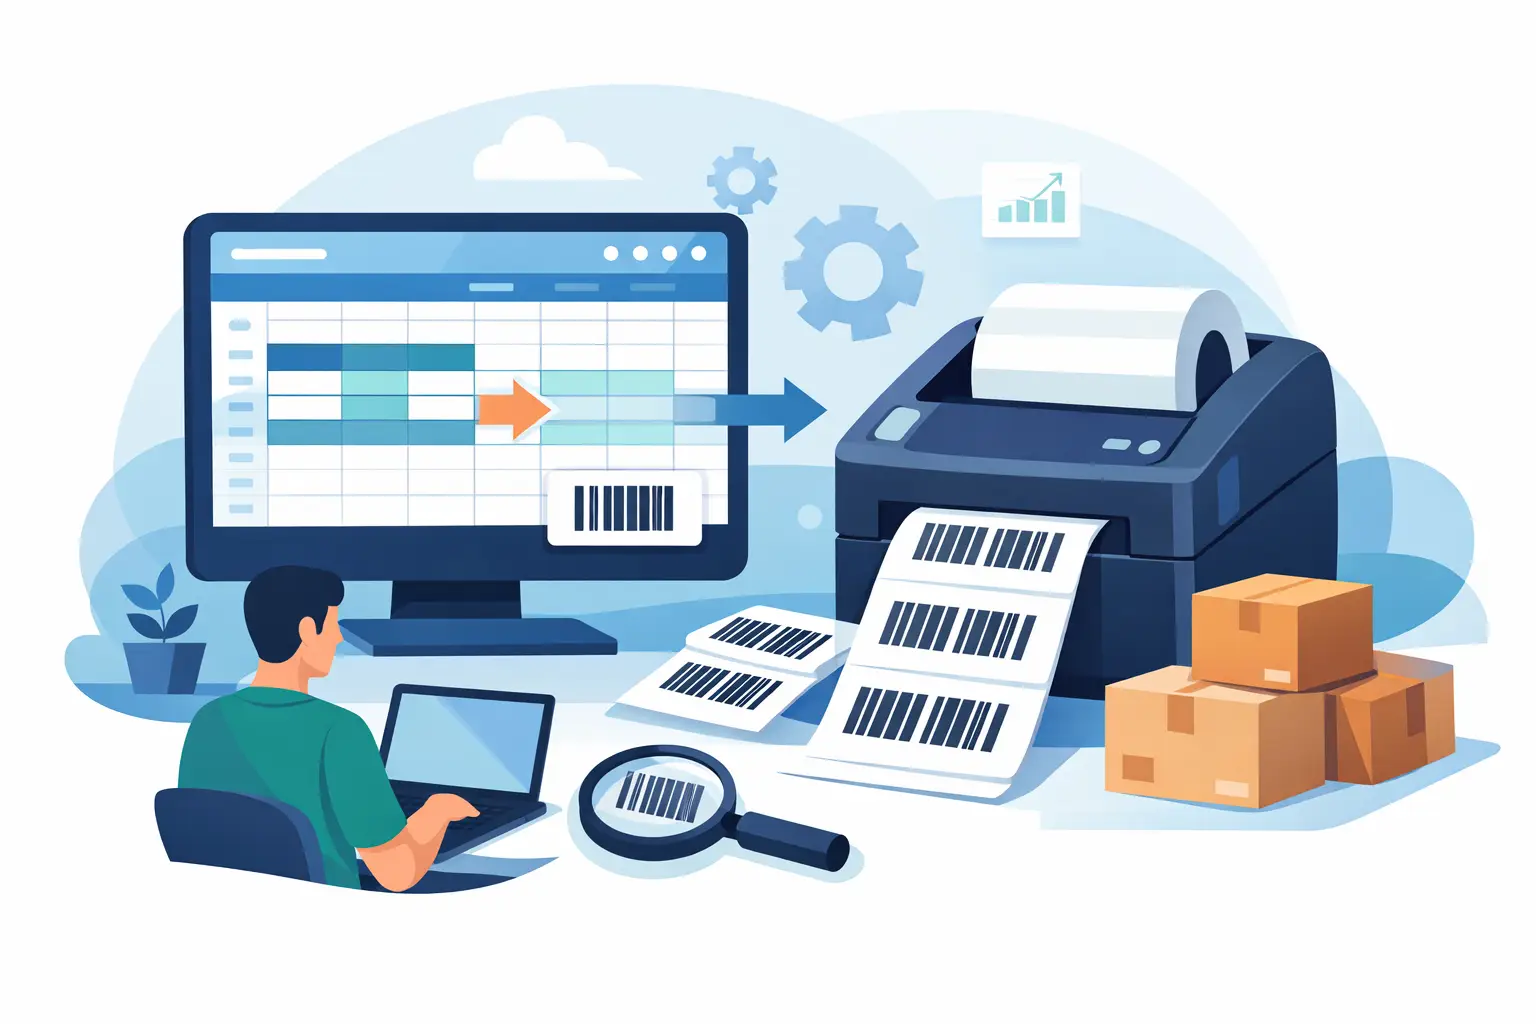
A spreadsheet may start as a simple stock list, but it quickly becomes a production file when hundreds of products need scannable labels before a shipment, stocktake, or store launch. The ability to print barcode labels from Excel turns that data into a repeatable operational workflow, without retyping SKUs, product names, lot numbers, or locations into a separate label application.
The challenge is not simply putting a barcode on a label. Reliable label output depends on clean source data, the correct barcode standard, a label design that fits the printer, and a dependable path from a browser-based system to a local thermal printer. Get one of those pieces wrong and labels may print with missing fields, unreadable codes, incorrect quantities, or characters the printer cannot render.
Start with a spreadsheet built for label data
Excel works well for batch label printing because each row can represent one label record. In a warehouse, that record might contain a SKU, product description, bin location, and barcode value. In manufacturing, it may also include a batch number, production date, and serial number. For retail, price and variant details may be required.
Create clear column headers and keep each value in its own field. A typical file may include `SKU`, `Product Name`, `Barcode Value`, `Location`, `Quantity`, and `Copies`. Avoid combining important values in one cell when they need to appear in different places on the label. Separating data at the source makes field mapping faster and reduces formatting errors later.
Barcode values deserve special attention. Excel can change long numeric values, remove leading zeros, or display them in scientific notation. Format barcode columns as Text before importing or entering data. This is particularly important for UPC, EAN, GTIN, serial numbers, and internal IDs where every character matters.
If the same product needs five labels, do not create five duplicate spreadsheet rows unless each label needs unique information. A dedicated copies column is usually cleaner, easier to audit, and less likely to inflate the batch accidentally.
Choose the barcode symbology before designing the label
A barcode is only useful if the scanner and downstream system recognize it. The correct symbology depends on the data and the operational environment.
Code 128 is a common choice for internal inventory, logistics, and warehouse labels because it supports letters, numbers, and special characters in a compact format. Code 39 remains common in older industrial workflows, though it generally requires more label space. UPC-A and EAN-13 are designed for retail product identification and require valid numeric structures. QR codes are useful when a label must carry more information, such as a product URL, serialized record, receiving details, or multilingual instructions.
Do not select a barcode type solely because it looks familiar. A retail scanner and point-of-sale system may require UPC or EAN, while a warehouse management process may be built around Code 128. If barcode data is already managed by an ERP, ecommerce platform, or inventory system, preserve its established standard rather than creating a new one in the spreadsheet.
Print a small test batch and scan every barcode with the devices used on the floor. A barcode can look sharp to the eye and still fail if it is too small, has insufficient quiet space around it, or is printed at a density unsuitable for the scanner.
Build one reusable label template
The most efficient way to print barcode labels from Excel is to create the layout once and bind it to spreadsheet columns. Your template should define the label dimensions, barcode type, text fields, fonts, alignment, and any static elements such as a company name, handling icon, or fixed instruction.
A practical inventory label often places the product name at the top, the barcode in the center, and the human-readable SKU or barcode number beneath it. Location, price, batch, or expiration information can be positioned where operators can find it quickly. Keep the hierarchy functional. The information needed during receiving or picking should not be reduced to tiny text simply to make room for decorative elements.
Thermal printing has physical constraints. A 2-inch label has different design limits than a 4-by-6 shipping label, and a 203 dpi printer will not reproduce fine details as clearly as a 300 dpi model. Use font sizes and barcode dimensions appropriate for the printer resolution and the expected scanning distance.
For multilingual operations, test the exact characters that will appear in product names and location data. Accents, Chinese characters, Japanese text, and other non-Latin scripts require proper font and character encoding support. A template that works with English-only samples may fail when live data reaches the printer.
Map fields and validate the first records
Once the Excel or CSV file is uploaded, map each template field to its matching column. The barcode object should receive the barcode value, while text objects receive the appropriate descriptive fields. Preview several records, not just the first row. This catches issues such as empty values, overlong product names, unexpected date formats, and leading-zero changes before the job reaches the printer.
Validation should include the label data and the print count. If a `Copies` field controls quantities, inspect records with one, multiple, blank, and zero values. Decide how the workflow should handle exceptions rather than letting incomplete rows print unpredictably.
Connect cloud workflows to local thermal printers
Most operational teams need the flexibility of cloud-based label design but still print to thermal devices connected to a local workstation or network. Browsers do not automatically have direct, reliable access to those printers. This is why cloud-to-local printing needs a secure desktop bridge.
TopSale uses TopBridge to connect browser-based print jobs to local or network-connected thermal printers without requiring a dedicated IoT print box. The workflow is direct: label data is prepared in the cloud, the local application receives the job, and the selected printer produces the labels in real time.
This architecture matters when printing happens at multiple sites. A warehouse team can use the same approved label template as a retail location or fulfillment center while routing each job to its local printer. Centralized templates reduce version drift, while local printing avoids the delay and complexity of manually moving files between systems.
Printer compatibility should be checked early. Many thermal printers use TSPL or ZPL command languages, and support for those protocols can make output more consistent than relying on generic office print drivers. Confirm the printer model, connection type, paper size, print density, and installed driver or protocol configuration before rolling out a high-volume batch.
Run batch printing with controls, not guesswork
Batch printing is where a good label workflow proves its value. Instead of opening records one at a time, an operator can filter the spreadsheet, select the required rows, preview the output, and send the full run to the designated printer.
Before printing hundreds or thousands of labels, use a controlled release process:
- Confirm the spreadsheet version and filter selection.
- Print two or three sample labels and scan them.
- Verify label dimensions, orientation, darkness, and media calibration.
- Check that quantities match the planned production, receiving, or picking task.
- Record who ran the batch and when, especially for regulated, serialized, or customer-facing labels.
These checks take minutes and can prevent hours of relabeling. They are especially valuable when a new label stock, printer model, barcode standard, or data source is introduced.
For recurring work, standardize file naming and templates. A naming convention such as `Receiving_Labels_US_West` or `Retail_Price_2x1` gives teams a clear starting point and reduces the risk of selecting a shipping label layout for shelf labels. Limit edit access to approved template owners, while allowing floor teams to upload data and execute established print jobs.
Know when Excel is enough and when to integrate
Excel is an effective input method for ad hoc batches, stock corrections, supplier uploads, product launches, and teams that do not yet have a direct integration. It gives operational users control without requiring development work.
However, spreadsheet-based printing can become a bottleneck when labels must be produced continuously from live orders, goods receipts, manufacturing events, or inventory changes. At that point, direct connections to systems such as Shopify, Odoo, or a custom application can remove exports, imports, and manual handoffs. An SDK-based workflow can trigger printing from the exact event that creates the need for a label.
The right approach depends on volume and process maturity. Use Excel where it provides speed and flexibility. Move to an integration where repeatable events demand real-time printing and stronger automation.
A label workflow should make the physical operation easier, not create another queue for someone to manage. Start with a clean spreadsheet, test the barcode in the real environment, and build a template your team can trust every time a batch needs to move.