
ERP Print Integration Guide for Reliable Labels
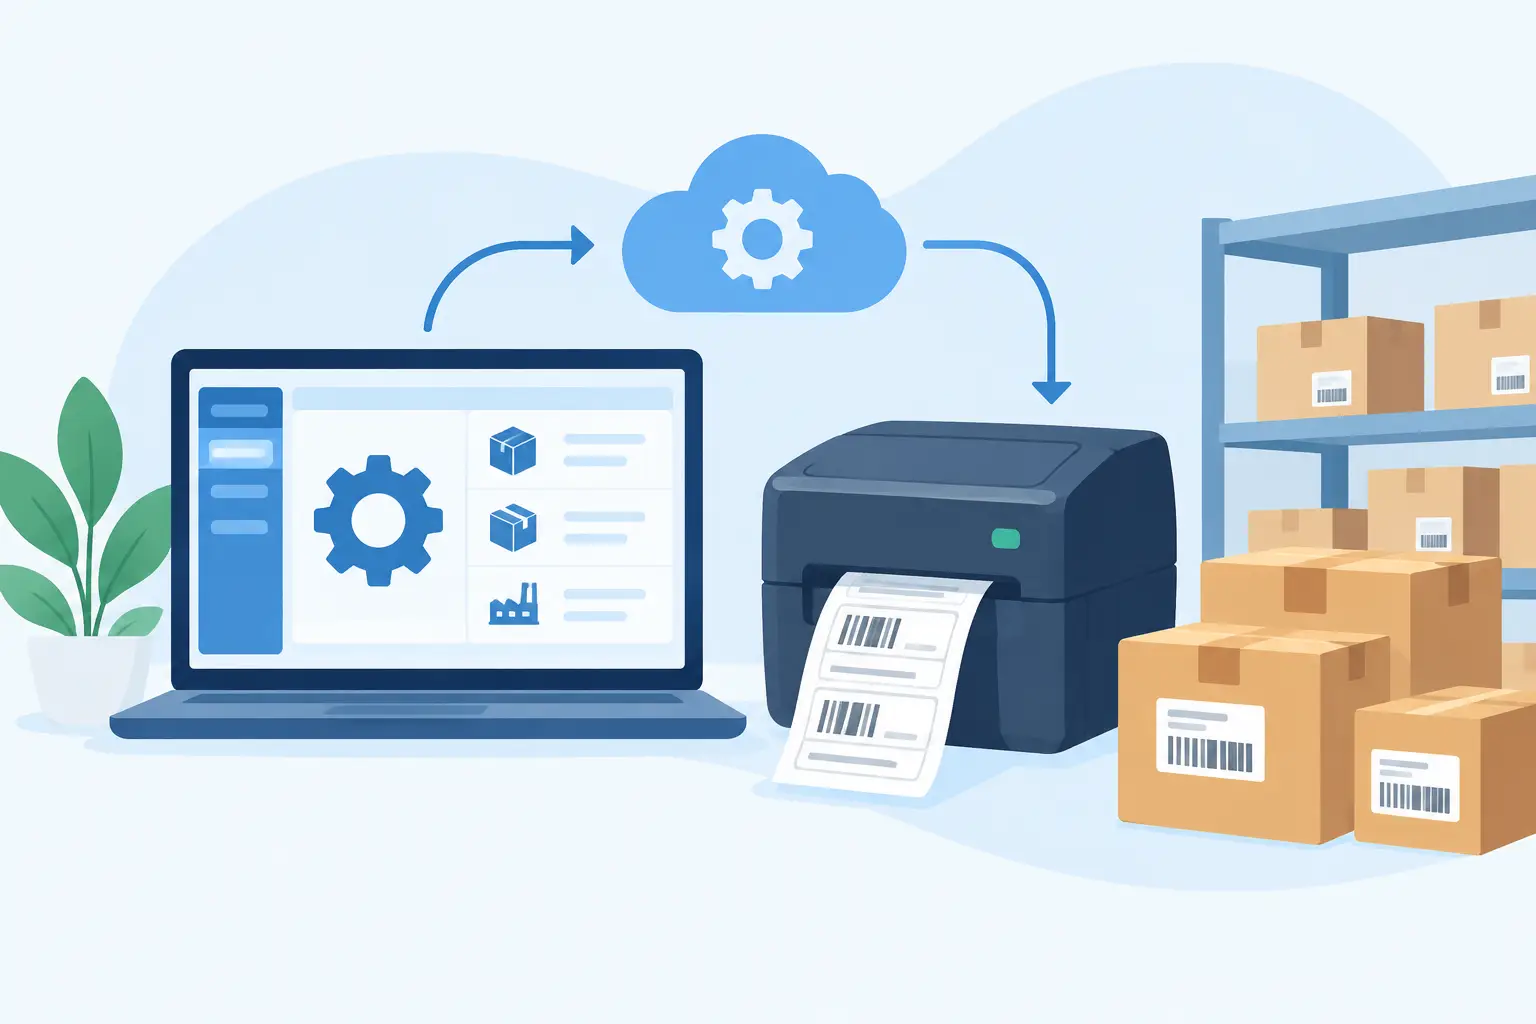
A warehouse team confirms a receipt in the ERP, but the pallet label appears 10 minutes later, prints at the wrong station, or fails because a browser cannot reach the local printer. That gap between a business transaction and a physical label is where shipping delays, inventory errors, and unnecessary rework begin. This ERP print integration guide explains how to close that gap with an architecture built for real operational conditions.
ERP printing is not simply about sending a PDF to a printer. Labels often need to print immediately after a transaction, use data from multiple records, select a specific local device, and remain readable by scanners and people across locations. The right integration makes that process predictable without asking operators to download files, choose settings, or manually re-enter data.
What an ERP Print Integration Must Handle
An ERP is the source of operational truth: item records, sales orders, purchase receipts, work orders, bin locations, lots, serial numbers, and shipping details. A print layer turns that information into a physical label, document, or tag at the point where work happens.
The difficulty is that cloud ERPs and local thermal printers live in different environments. A browser-based ERP may know that a shipment is packed, but it cannot always communicate directly with a Zebra, TSC, Xprinter, or Brother printer on a warehouse network. Security boundaries, local drivers, device availability, and printer languages all affect the result.
A dependable design therefore needs four connected parts: an ERP event that starts the job, a template that maps business data into a label, a local print bridge that can reach approved devices, and status handling that records whether the job was accepted or needs attention. If any one of these is treated as an afterthought, operators end up becoming the integration layer.
Start With the Print Event, Not the Printer
The most useful question is not, “Which printer do we own?” It is, “What transaction should create which label, at what moment, and at which station?” This keeps the integration aligned with the process instead of the hardware.
For inbound inventory, a print event may occur when a receiver posts a purchase order receipt. The label could include SKU, item name, quantity, supplier lot, internal lot, and receiving date. For fulfillment, the event might be a packed order, with a carton label containing the order number, shipping service, destination, and tracking barcode. In manufacturing, it may be a completed work order or quality release.
Define the trigger precisely. “When inventory is received” can mean after a scan, after a supervisor approves the receipt, or after the ERP commits the transaction. Those are materially different moments. Printing too early can create labels for transactions that are later canceled. Printing too late creates a queue of unmarked goods on the floor.
The right choice depends on risk. High-volume receiving often benefits from an immediate event after confirmation. Regulated or quality-controlled workflows may need a hold point before labels are released. Build the integration around the business rule, then choose the technical trigger that supports it.
Decide What the Job Needs to Know
Each print job should carry enough information to render the intended output without an operator filling in missing values. That normally includes a template identifier, a printer or printer group, quantity, ERP record ID, and the label data itself.
Use stable identifiers rather than display values wherever possible. For example, a SKU or internal item ID is safer than an item name that can be edited. Include the ERP transaction ID in the job payload and, when useful, print it in human-readable form. This gives teams a direct path from a label on a carton back to the source record.
Be deliberate about quantities. A receipt may contain 100 units, but operations may need 10 case labels rather than 100 unit labels. Your integration should calculate the expected label count from packaging rules, not leave that decision to the person standing at the printer.
Design Labels for Thermal Output
A label that looks correct in a browser preview can still fail at the printer. Thermal printers have fixed print widths, different supported resolutions, and distinct command languages. A 4-by-6 shipping label and a 2-by-1 inventory label should be treated as separate production assets, not merely resized versions of the same design.
Use barcode symbologies appropriate to the scanner and data. Code 128 is common for internal identifiers, while GS1 formats may be required for supply chain workflows. QR codes can hold more information, but they are not automatically the best choice if existing scanners, warehouse systems, or customer requirements expect a linear barcode.
Test the smallest practical barcode size on the actual media and printer resolution. Quiet zones, contrast, print darkness, and label material matter. A barcode that scans on a desktop printer may perform poorly after handling, refrigeration, or abrasion in the field.
International operations need another layer of testing. Product names, addresses, and instructions may include accented characters, Asian scripts, or right-to-left languages. Confirm that the template, data source, print bridge, and selected printer protocol all use compatible character encoding. Replacing unreadable characters after labels reach the warehouse is expensive and avoidable.
Connect Cloud Workflows to Local Printers
Direct browser printing is often unreliable for ERP-controlled workflows because browsers limit access to local network devices. A desktop print bridge solves this problem by running on a workstation or local server with access to the printer network. It receives authorized jobs from the cloud and sends them to the assigned printer using the correct local connection.
This approach avoids the cost and maintenance of dedicated IoT print boxes while keeping printers accessible where they are installed. It also gives IT teams a clearer operating model: the ERP or integration service creates the job, the bridge routes it locally, and the printer executes it.
TopSale uses this model through TopBridge, connecting cloud-based label workflows to local or network-connected thermal printers without requiring an additional hardware appliance. For teams supporting mixed printer fleets, direct support for TSPL and ZPL is especially useful because it keeps the output closer to the native capabilities of common thermal devices.
Printer selection should be rule-based. A receiving event should route to the receiving station, not simply to the last printer chosen by a user. You can route by warehouse, user role, workstation, order type, or packing zone. Printer groups are helpful for high-volume areas, but only when labels can safely print at either device. If a label must accompany a specific carton at a specific bench, route it to one named printer.
Build for Retries, Exceptions, and Duplicate Prevention
No printer environment is perfect. Devices run out of labels, networks drop, and workstations restart. A production integration needs to distinguish between a job that was created, a job accepted by the print bridge, and a job physically completed by the printer. Not every printer can report the final state with the same level of detail, so set expectations based on the device and protocol in use.
A retry policy should be careful. Automatically resending a job after a timeout may produce duplicate labels if the original print completed but its acknowledgement was delayed. Use unique job IDs and idempotency controls so the same ERP event cannot create uncontrolled repeats. Where duplicate labels are acceptable, mark reprints clearly or record a reprint count. Where they are not acceptable, require an operator confirmation before releasing another copy.
Create an exception path that operations can use without waiting for a developer. A failed job should show the transaction, target printer, timestamp, error state, and a controlled option to retry or reroute. This is more useful than a generic “print failed” message because it lets the team decide whether the issue is a printer fault, data issue, or routing rule.
Test the Workflow as Operations Will Use It
Testing only with a single sample order is not enough. Validate common transactions, but also test long product names, missing optional fields, special characters, multiple copies, voided documents, printer-offline conditions, and simultaneous jobs from several users. Test on each printer model that will be deployed, especially when sites use different label sizes or resolutions.
Before rollout, walk the physical process. Can the operator identify which printer produced the label? Does the label appear before the goods move to the next step? Can a supervisor reprint it without bypassing controls? Are labels scan-tested at the distance and angle used on the floor? These questions reveal problems that are invisible in a technical demo.
Monitor volume and failure patterns after launch. A growing number of retries at one location may indicate Wi-Fi coverage, a worn printhead, an overloaded workstation, or an incorrect routing rule. Print integration is operational infrastructure, so it deserves the same attention as scanners, packing stations, and network-connected scales.
ERP Print Integration Guide: A Practical Rollout
Start with one high-value workflow, such as purchase receipt labels or packed-order labels. Document the trigger, data fields, label format, destination printer, expected quantity, and exception owner. Then run it through actual equipment with actual users before expanding to more warehouses or transaction types.
Once that first workflow is stable, standardize templates, printer naming, routing rules, and job status reporting. This makes new sites faster to deploy and reduces dependence on individual staff knowledge. The goal is not merely to make labels print. It is to make the ERP event and the physical work happen as one controlled operation.
A good integration becomes almost invisible when it is working: the right label is waiting at the right station when the work is ready to move. That is the standard worth designing for.